AutoCAD尺寸标注设置技巧
2015-01-22 真空技术网 真空技术网整理
一、创建与设置尺寸标注样式
1、尺寸标注样式
尺寸标注四要素:尺寸界线、尺寸线、尺寸起止符号(箭头)、尺寸数字
2、标注样式管理器
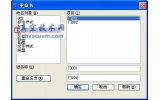
(1)新建尺寸标注样式
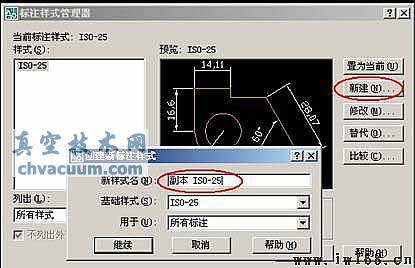
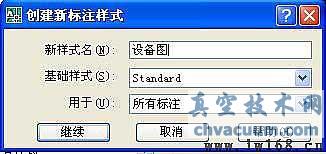
选“继续”:
(2)将某标注样式“置为当前”
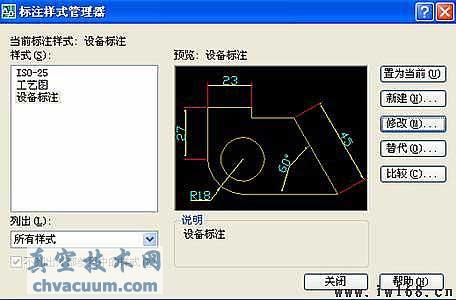
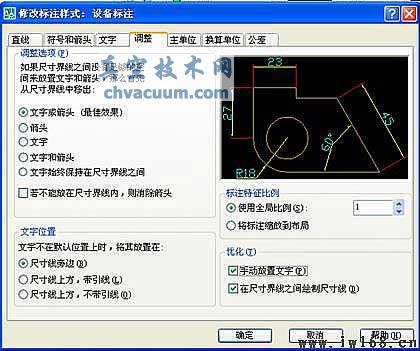
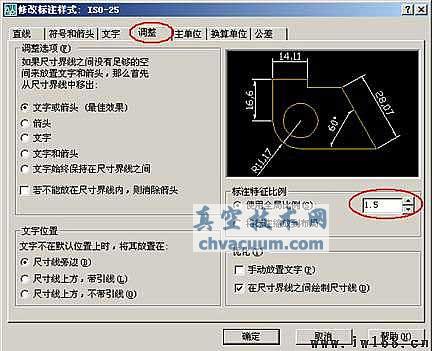
(3)设置尺寸标注样式
二、标注尺寸的方法

1、“线性”标注和“对齐”标注命令
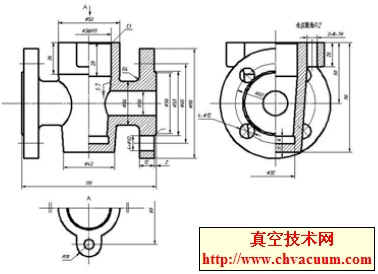
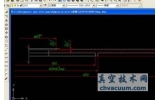
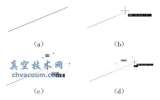
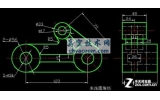
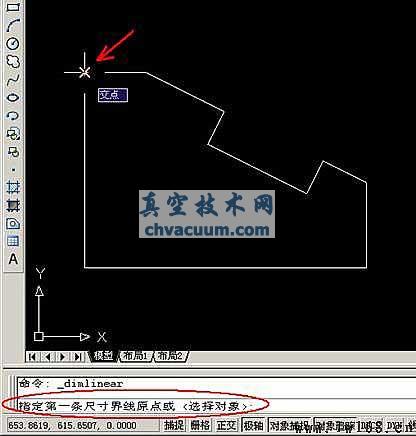
【例1】给图形标注尺寸
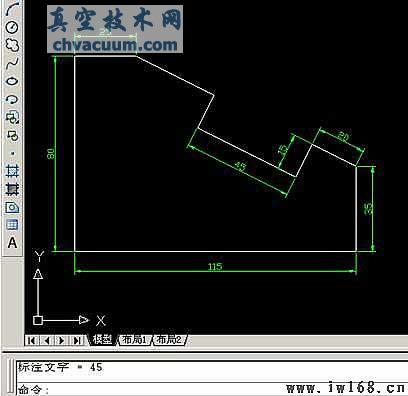
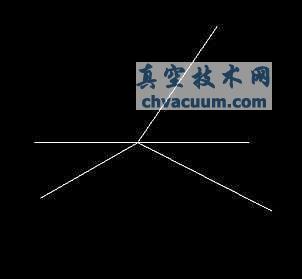
未标注前:

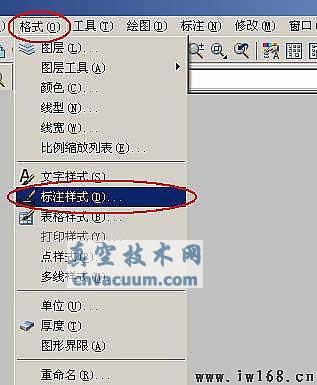
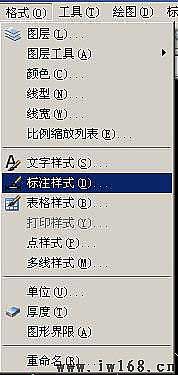
步骤:(1),打开“格式”—>“标注样式”à“标注样式管理器”
(2), 启用“线性”标注命令,用鼠标单击“轮廓线”的两个端点,

然后,输入控制距离:8,再按Enter。
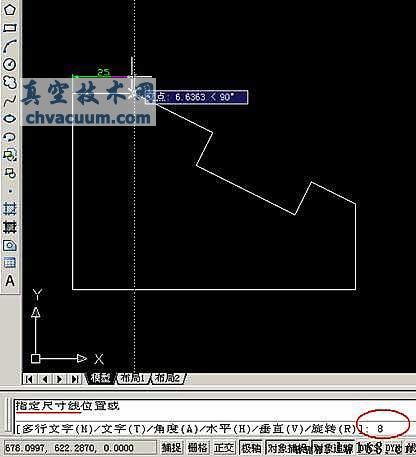
(3)重复“线性”标注命令,完成全部水平和垂直尺寸标注
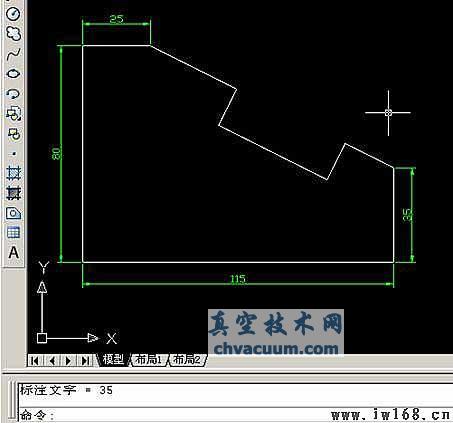
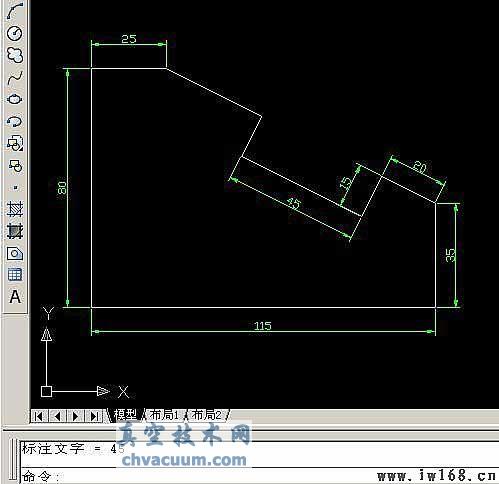
(4). 用“对齐”标注命令,完成倾斜直线尺寸标注
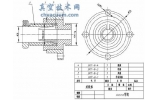
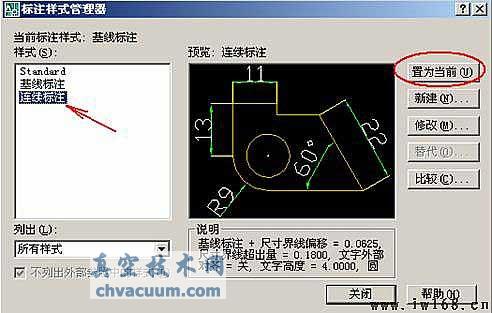
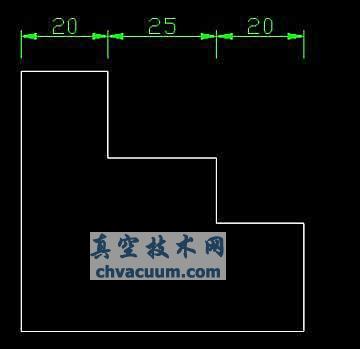
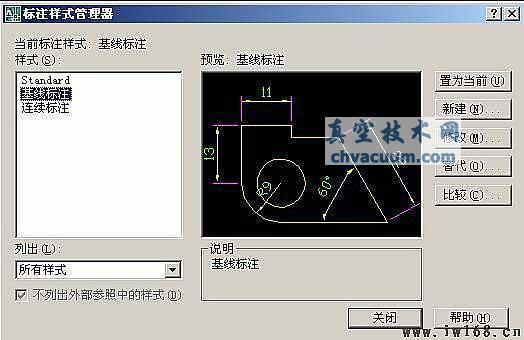
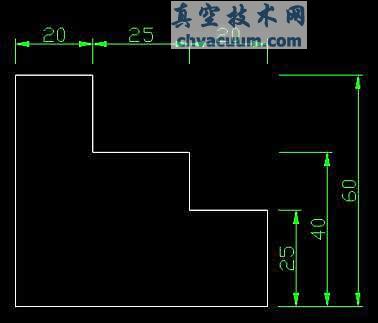
2、连续标注和基线标注
【例2】
在标注样式管理器中,新建两个标注样式:
(1)连续标注
(2)基线标注
将“连续标注”置为当前,标注如下。
将“基线标注”置为当前,标注如下:
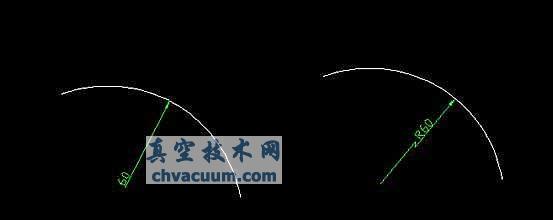
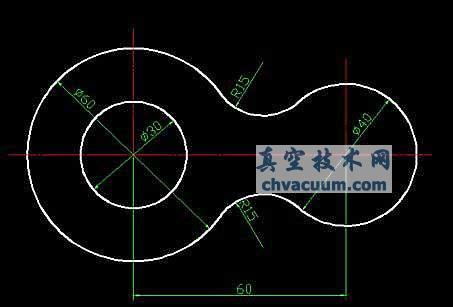
3、 半径、折弯和直径标注
先在“格式”—“标注样式”中修改标注样式

修改:
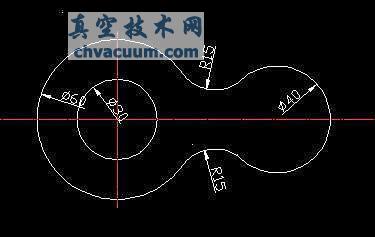
在标注样式管理器中,新建“直径标注”
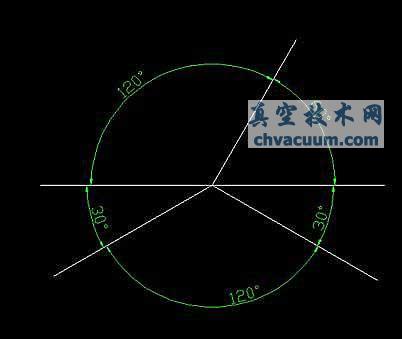
4、角度标注